


 0

Most people searching for home noise reduction tips are not trying to build a recording studio. They want to stop hearing the neighbour’s television at 1 a.m., the lorry outside the bedroom window, or the hum from a kitchen appliance that never switches off. The good news is that the cheapest fixes often beat expensive products, because noise usually enters through gaps, hard surfaces and poor furniture placement rather than through solid walls. This guide covers the no-cost and low-cost strategies that work in real homes, what to skip, and where a pair of earplugs still makes sense.
| Key Insight | Explanation |
|---|---|
| Find the leaks before buying anything | Sit in the noisy room in the dark and note any light or draught. The same gaps let sound through. |
| Gaps matter more than wall thickness | A gap under a door or around a window frame often lets in more noise than the material itself blocks. |
| Soft surfaces calm the room | Rugs, curtains and books reduce echo, which makes ordinary sound feel quieter. They do little against traffic from outside. |
| Put your head on the quiet side | Move the headboard to the wall furthest from the street, neighbour or plumbing stack, and test it for a few nights. |
| Quiet the machines in your own home | Rubber feet, a rug under the washing machine and running loud appliances during the day cut the noise you create. |
| Earplugs handle what the room cannot | When the source is outside your control, a well-fitted pair of earplugs is the most reliable cheap option. |
Before you buy anything, spend ten minutes in the noisiest room of your home at the time it bothers you most. Turn off the lights, close the door and stand still. Anywhere you can feel a draught on your hand or see a thin line of light is a route for sound too.
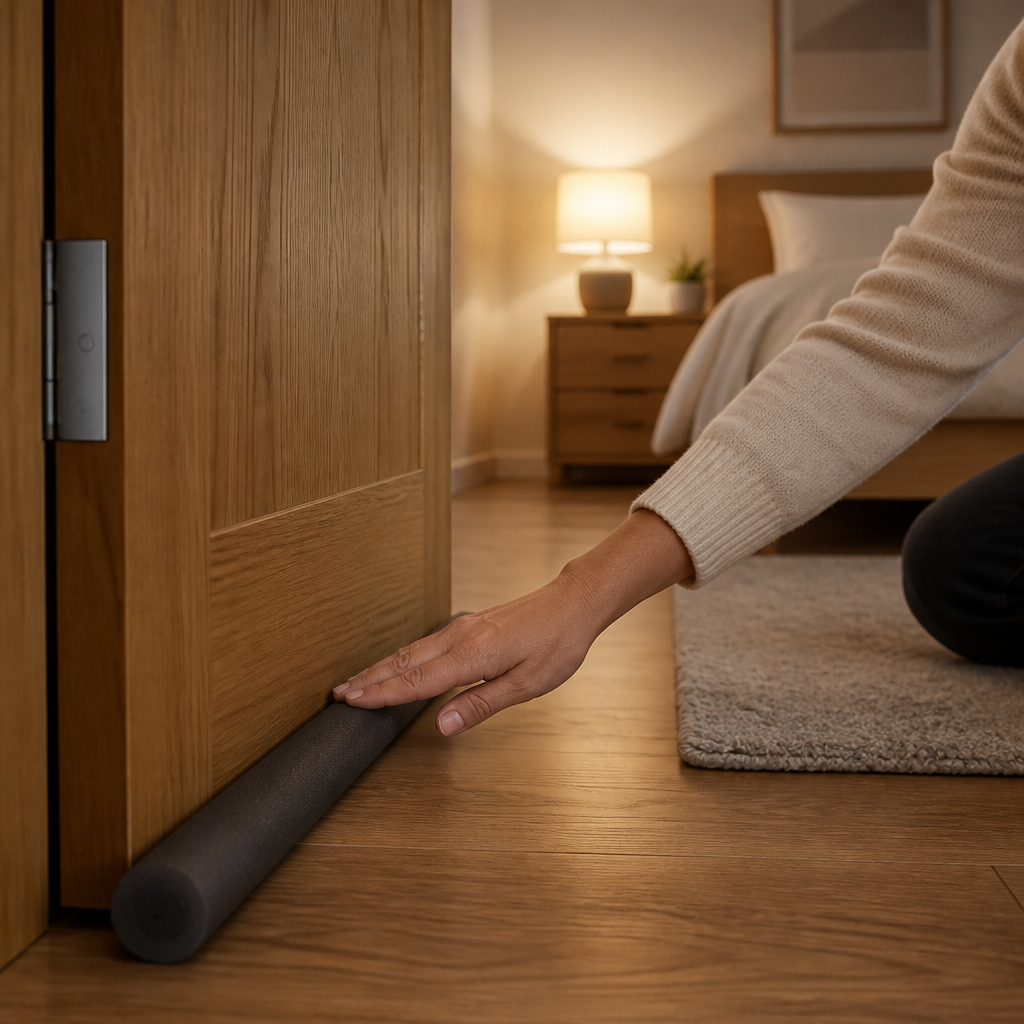
In practice, sound leaks through the weakest point of a room, not the average one. A solid timber door with a gap at the bottom will often let through more noise than the door itself blocks. A single outlet cut into a shared wall can act like an open hole, and the weakest point decides what you hear.
Check the gap under every door, the space between the door and frame on the hinge side, and whether the threshold lifts when you step on it. Close the door, then have someone talk in the room while you listen from the hallway. If you can make out words, the door is the problem before the wall is.
Windows with loose sashes rattle and let in high-pitched traffic noise, which is the hardest sound to ignore at night. Trickle vents and extractor fans are common sound routes that people overlook. Electrical boxes on opposite sides of a shared wall are another frequent culprit, which is why foam gaskets behind outlet covers are one of the cheapest upgrades available.
Pro tip: Ask someone to shine a phone torch at the door from the hallway while you check the room in the dark. Any light you see is a gap that needs sealing, so mark it with painter’s tape before you buy materials.
Sealing is the most reliable low-cost step because it attacks the actual leak. Self-adhesive foam or rubber weatherstripping costs very little and takes less than an hour on most doors. Start with the door that separates the bedroom from the noisiest part of the house.
Choose a profile that matches the gap. Adhesive foam tape suits a frame where the door closes against a flat surface, while a rubber V-strip or P-profile works better where the gap varies along the edge. Clean the surface with a dry cloth before applying, because most failures come from tape that never bonded in the first place.
A door sweep closes the gap under the door, which is usually the largest one. Fit it so it brushes the floor lightly without dragging, otherwise it wears out within weeks and you stop closing the door properly. Where the threshold is raised, a flexible seal is often easier than replacing the threshold.
Gaps around window frames, skirting boards and pipes entering a wall are best closed with a flexible sealant. Acoustic sealant stays soft and does not crack when timber moves, which matters in older homes where the structure shifts with temperature. Stuffing gaps with foam alone tends to look fine for a season and then open up again.
A sealed bedroom can feel noticeably quieter before you change anything else. Late October is a good time to do this work, because the same gaps that let sound in also let cold air in as the heating season begins.
Many rooms that feel noisy are not letting in more sound than quieter rooms. They simply reflect it. Bare floors, glass, painted plaster and hard furniture bounce sound around, so each noise lingers and seems louder. Adding soft surfaces reduces that reflection, which makes the room feel calmer even when the outside noise has not changed.
A design blog on sound dampening makes a useful distinction here: softer woods such as pine, balsa and MDF are better at absorbing sound, while harder woods such as oak, birch and walnut are better at blocking it. For a budget project, the bigger gains usually come from fabric and layering rather than from the timber itself. A thick soft layer will do more for a room than a solid wooden panel leaning against a wall.
A rug on a hard floor is one of the most effective changes for footstep and chair noise, especially from an upstairs neighbour. Choose a thick rug with dense underlay, because a thin mat over tile still transmits impact sound through the floor. Place it where feet actually land, such as beside the bed and under the dining table.
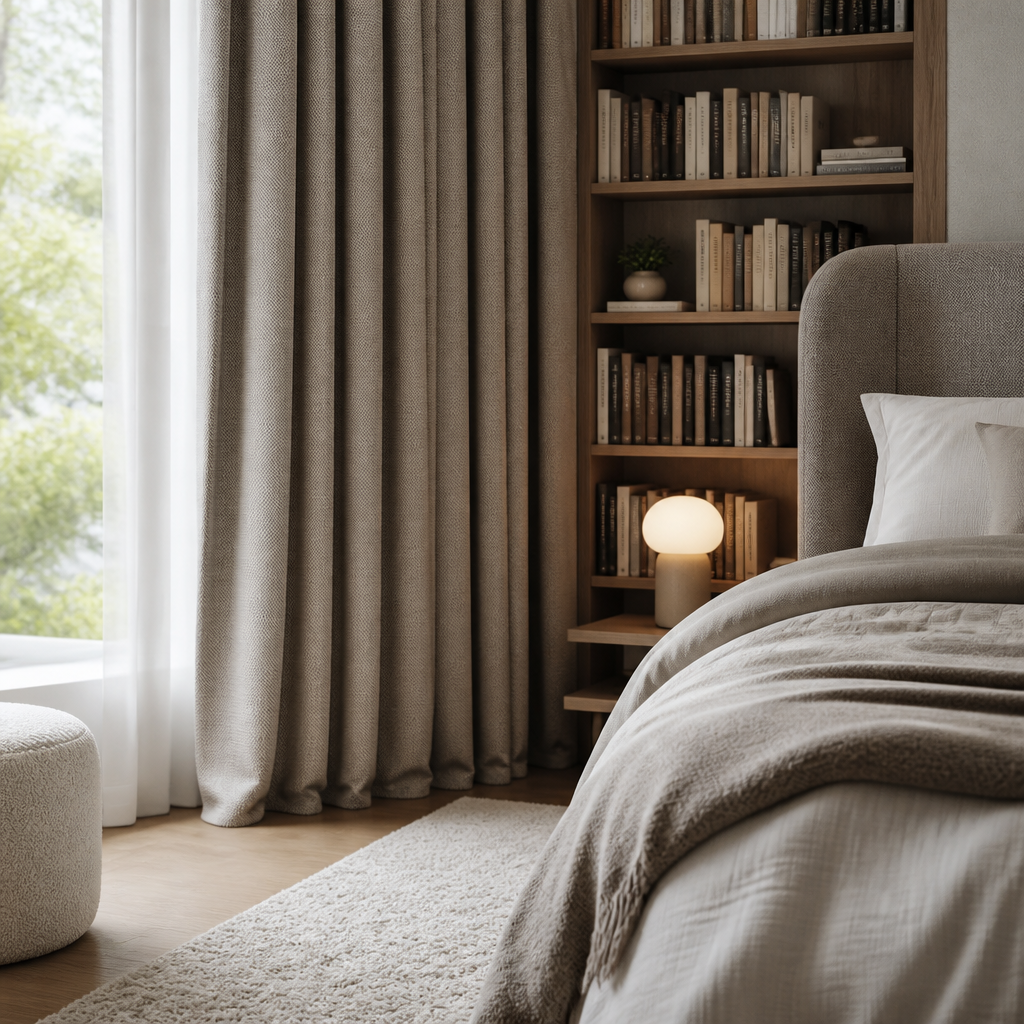
Heavy lined curtains tame echo and soften the sound inside a room, but they do very little against a lorry going past at 3 a.m. Be honest about what they can do. Bookshelves full of books on a shared wall work better than most people expect, because the irregular surfaces scatter sound and the books absorb some of it.
For light sleepers, the bedroom is where layout decisions matter most. Your bed, headboard and wardrobe all sit between you and the noise source, so moving them costs nothing and often works better than any product. Look at which wall faces the street, the neighbour or the plumbing stack, and treat that wall as the one to protect.
Start by moving the headboard to the wall furthest from the noise. If the room has only one usable wall, put a wardrobe full of clothes against the noisy side, because clothes absorb sound and the wardrobe adds mass. Test each change for a few nights before you move anything else.
Try not to sleep with your head against a shared wall. Sound transmitted through a wall is more noticeable when you lie against it, because the bed frame and headboard carry vibration. A wardrobe with a decent amount of clothing on the noisy wall is a buffer most people already own.
A fan or a white noise app will not reduce the noise outside, but it can hide sharp sounds that wake you. This is masking, not reduction. Use it as a supplement to sealing and layout, and keep the volume low, since a loud constant sound can become its own problem by morning.
Closing the bedroom door shuts out household noise, which is often more disruptive than the street. Keep the window closed at night if you can. If you need airflow, a window vent on the side away from the road is a better compromise than an open sash.
Some of the noise that bothers you comes from inside your own house. Appliances, plumbing and the people who live with you produce much of it, and those sources are easier to change than the neighbours. A short audit of your daily routine usually finds two or three quick wins.
Washing machines, dishwashers and tumble dryers send vibration through the floor and into the walls. Stand each one on rubber feet or a dense anti-vibration mat, and check that it is level, because an unbalanced drum is louder than a stable one. Run the loudest machines during the day when you are awake to hear them.
Footsteps on bare boards or tiles carry through the structure into rooms below. Put felt pads under chair and table legs, since dragging a chair across a hard floor is one of the most irritating household sounds. Ask people to take shoes off near the bedroom, which costs nothing and works better than most people expect.
Water hammer, where a tap or valve shuts quickly and sends a shock through the pipes, is a common cause of loud knocks at night. Pipes fixed tightly to a wall transmit that knock well, so adding rubber-lined pipe clips can reduce it. If the knocking persists, a plumber should check it, because repeated shocks can also damage fittings.
Outside noise is the hardest category because you cannot control the source. What you can control is how much of it reaches you and how you respond. Most low-cost strategies here focus on timing and the path the sound takes, not on stopping it at its origin.
Keep a simple log for a week, noting the time, the sound and whether you were awake. Traffic, bin collections and late-night activity each follow a different pattern, and each responds to a different fix. A log also gives you specific evidence if you contact a local authority or a landlord.
Many noise problems get resolved with a calm, specific conversation. Explain the time and the type of sound, and ask what would help rather than issuing a demand. If that fails, many local councils and housing providers have formal noise complaint processes, and a written log makes your case much stronger.
If the road will always be busy, accept that and stack the smaller fixes. Sealing, soft furnishings and layout reduce the baseline, and a well-fitted pair of earplugs handles what remains. The goal is not silence but a night you sleep through.
Earplugs are the last layer, not the first, and that is the honest way to use them. They cannot fix a draughty door or a hard floor, but they do deal with sounds you cannot change, such as a neighbour’s bass or a late train. Used alongside sealing and layout, they cover the gap that the house cannot close.
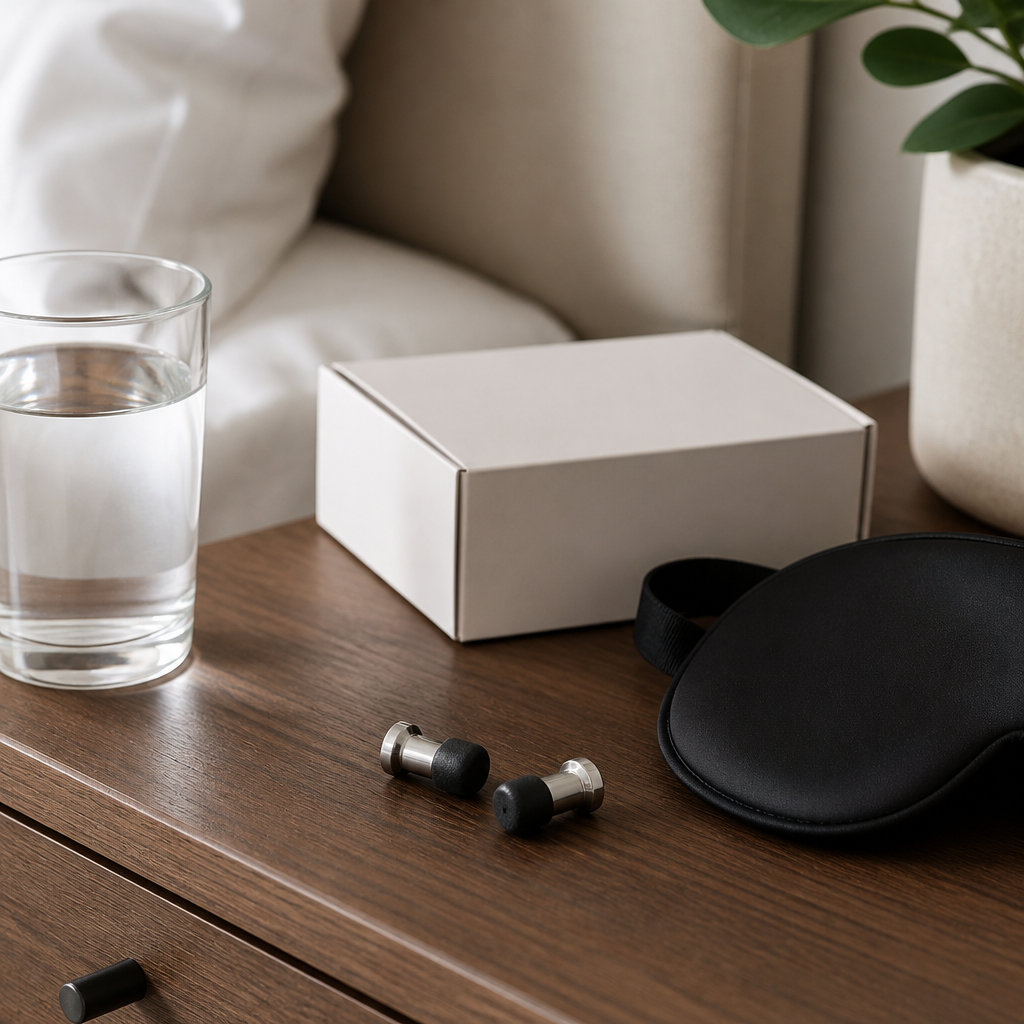
ATTENU8 makes reusable metal-bodied earplugs with a concave aluminium body and three sizes of memory foam tips (XS, S and M). The brand rates each pair at approximately 32dB of noise reduction, and the foam tips need replacing every 6 to 8 weeks rather than replacing the whole plug. Tip size is the detail most people get wrong, so try all three before deciding.
Roll the foam tip thin, insert it gently, and hold it in place for a few seconds while it expands. A seal that feels loose or lets in whistling air usually means the wrong size. Fit decides how much of the rated reduction you actually get, so it is worth the few minutes of testing.
For sleep, the priorities are comfort on your side and a seal that survives a night of movement. For noisy work environments such as construction, manufacturing or military settings, check the rating and your workplace requirements, because a sleep product is not a substitute for approved hearing protection. Match the plug to the risk, not to the price.
Pro tip: Run a simple before-and-after test. Listen to a ticking clock or a running tap in the next room with and without the plugs in, and note the difference. If you cannot hear a clear change, try a different tip size.
Not every fix earns its place. The table below compares the three approaches covered above by what they handle best and where they fall short. Use it to decide where to start, then add the others as your budget and patience allow.
| Approach | Best at handling | Where it falls short |
|---|---|---|
| Sealing gaps with weatherstrip, sweeps and sealant | Draughts and light-gap noise around doors and windows | Does nothing for sound travelling through solid walls or the floor |
| Soft surfaces such as rugs, curtains and bookshelves | Echo, footfall and general room reverberation | Weak against loud outside sources such as traffic |
| Reusable earplugs with the right tip size | Loud, unavoidable sounds at night, including neighbours and traffic | Protects only the wearer, and its value depends entirely on fit |
If you only do one thing this week, seal the door and check the outlets on shared walls. Those two steps cost little and address the leaks that most homes have. Everything else builds on that foundation.
Most bedroom noise problems are gap problems long before they are material problems.
Fit a door sweep under the door and self-adhesive foam weatherstripping on the sides and top. Together they usually cost little and take under an hour to install, and they close the largest leak in most bedrooms.
Not much. They soften echo inside the room and make it feel calmer, but they do little against traffic or voices from outside. Treat them as a room-quality fix rather than a barrier.
Yes, for footstep and chair noise, as long as the rug is thick and sits on dense underlay. A thin mat over tile will do very little.
No. White noise masks sudden sounds so they wake you less often, but it does not lower the actual noise level. Use it alongside sealing and layout changes.
The brand specifies replacing the foam tips every 6 to 8 weeks, depending on how often you use them and how well you clean them. The metal body stays in use, so you replace only the tips.
They can be part of a plan, but check the rating against your workplace requirements first. Sleep products are not a substitute for approved hearing protection where regulations apply.
Which of these fixes made the biggest difference in your home, and was there one that did nothing at all?

